More help:
NWEA Support
Have an idea?
Share it!
Manage Users
Whenever someone encounters a block in access to features or data, a good place to start is the Manage Users page on the
Note: You cannot edit your own profile or change the roles assigned to you. The one exception is the System Administrator role, which can add or remove roles for anyone, including a self-edit.
Creating a User Profile
User profiles require at least one role. The role controls the permissions for the user.
Required role: Data Administrator or System Administrator
-
Access the start page and choose Rostering from the main menu.
-
Select Manage Users.
-
Search to make sure the profile doesn’t already exist.
Tip: Select Include Inactive Users to make your search as broad as possible.
- Click Create User (near the top) if the search does not return an existing profile for the user.
-
Enter the requested information under All Roles.
- In the User Role section, under Available Roles, select a role that you want to assign this user, then click Add.
- Repeat this process for all the roles you want to assign to this user.
- To remove a role, select it in the Roles to Assign list, and then click Remove.
- Click Continue.
- If prompted, specify which school(s) to assign this user. You can search for the school name if you type at least three letters.
- Click Submit.
Note: With any change, be sure to click Submit as needed—possibly on multiple pages—to complete the action. The process is complete and the change is saved only when you see a message such as "User profile has been updated successfully."
The system will automatically send a temporary password to the user’s email address.
Resetting a User Password
You can no longer manually reset passwords for other staff users.
You can reset your own password with these steps:
-
Enter your email or username and select Continue.
-
Select Forgot password? under the password prompt.
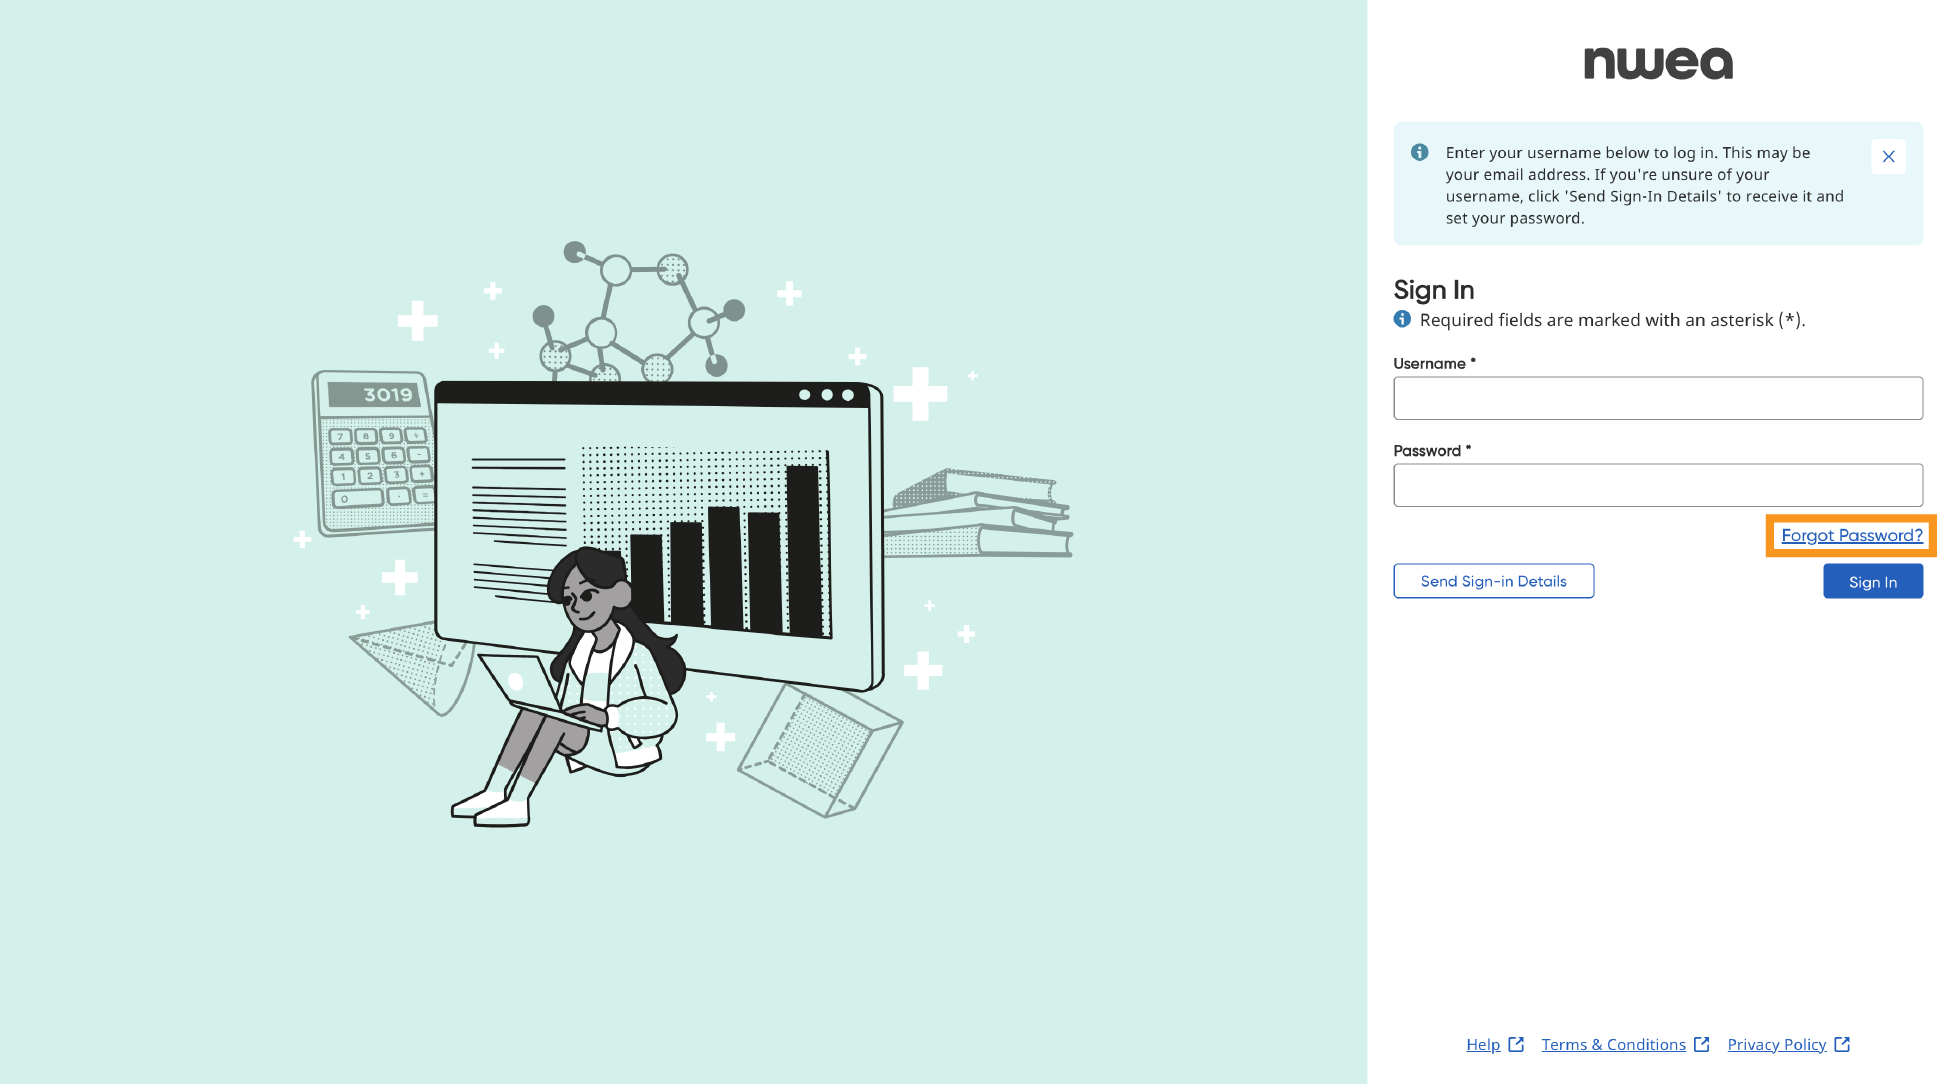
-
Enter your email and select Submit. Instructions will be sent to your email from noreply@auth.nwea.org.
Inactivating or Activating a User Profile
Inactivating a user profile prevents that person from logging in to the start page. For example, you might inactivate a user profile when an individual takes a leave of absence. When the user returns, you can reactivate the profile.
You cannot inactivate your own user profile, nor can you inactivate a user profile with a higher priority than your own. The order of priority appears in the following list of roles, from left to right.
Required role: System Administrator or Data Administrator
To inactivate a user profile:
-
Access the start page and choose Rostering from the main menu.
-
Select Manage Users.
-
Search for the user profile.
- In the Search Results section, select the profile you want to inactivate.
-
Click Inactivate Profile.
- Click OK in the confirmation prompt.
To activate a user profile:
-
Access the start page and choose Rostering from the main menu.
-
Select Manage Users.
- In the upper-right corner of the page, select Include Inactive Users.
-
Search for the user profile.
- From the search results, select the profile you want to activate.
-
Click Activate Profile.
-
Click OK in the confirmation prompt.